 Anacortes Siding
 Cap Sante's Waterfront Exposure Takes a Different Toll on Siding
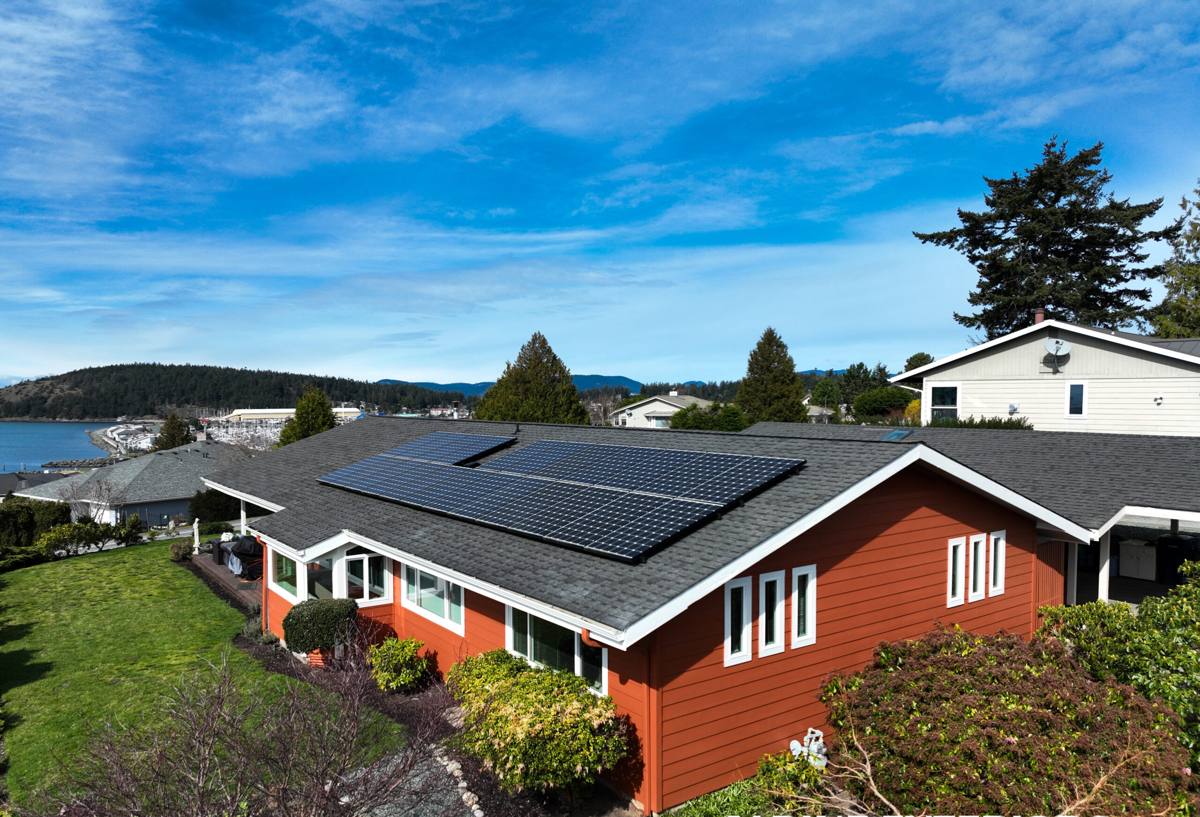
Cap Sante sits close to the water, and that proximity shapes everything about how siding ages here. Homes on and around this part of Anacortes catch salt-laden air off the surrounding marine waters almost year-round, along with the wind-driven rain that comes with exposed, elevated lots near the marina and shoreline. That combination is harder on exterior materials than a typical inland Skagit County setting. Salt air accelerates the breakdown of paint and factory coatings, wind pushes rain sideways into laps and seams that would stay dry on a more sheltered wall, and the region's long wet season keeps siding damp for months at a stretch.
Add in Anacortes' extended moss and algae season — often running from fall through late spring — and you get a slow, compounding problem. Moss doesn't just look bad on north-facing or shaded walls; it holds moisture directly against the siding surface, which is exactly the condition that causes rot in wood-based products and coating failure in almost anything that isn't engineered for it. None of this means siding fails overnight. It means the products and installation details that work fine in a dry inland climate quietly underperform near the water, and homeowners often don't notice until the damage is already behind the wall.
Signs a Cap Sante Home Needs Replacement, Not Another Repair
Repair makes sense when the problem is isolated. Replacement becomes the right call when the damage is a symptom of the material or installation reaching the end of what it can handle. In our experience working on homes in this part of Anacortes, these are the signals worth paying attention to:
- Siding that feels soft, spongy, or gives slightly when pressed, especially near the bottom courses or around windows
- Paint or coating that fails repeatedly — chalking, peeling, or blistering again within a couple of years of repainting
- Panels or boards that have visibly warped, cupped, or buckled
- Gaps opening up at seams, corners, or butt joints that weren't there a few years ago
- Moss or algae that keeps returning to the same wall no matter how often it's cleaned
- Interior stains, musty smells, or soft drywall near exterior walls, which often point to moisture that's already gotten past the siding
- Siding that's simply older than the realistic service life of its material, particularly wood-based products in a wet, salt-exposed setting
If you're seeing two or three of these at once, that's usually a sign the underlying wall assembly — not just the surface — needs attention, and that's a replacement conversation rather than a patch-and-paint job.
What a Correct Siding Replacement Actually Involves
The visible siding is the last thing installed and the first thing anyone notices, but the work that determines whether a job lasts happens underneath it. A correct replacement on a Cap Sante home covers several layers, each one addressing a specific failure mode common to this climate.
Tear-Off and Sheathing Inspection
Removing the old siding is also the only real chance to see what's happening behind it. We check the sheathing for soft spots, rot, or hidden moisture damage before anything new goes up. Skipping this step and installing new siding over a compromised wall just hides the problem for another cycle.
Weather-Resistive Barrier and Flashing
This is the layer that actually keeps wind-driven rain out, and it's the layer most often installed poorly on older homes. Proper house wrap, correctly lapped and taped, along with flashing at windows, doors, and any wall penetrations, is what stops water from getting behind the siding in the first place — regardless of how good the siding itself is.
Installation to Manufacturer Specification
Fastener spacing, panel gaps, clearance from grade and roof lines, and proper caulking at joints all matter more in a wind-and-salt environment than they do in a sheltered one. Installed loosely or "close enough," even a good product will underperform.
Trim, Caulking, and Finish
The final details — corner trim, window and door casings, and sealant at transitions — are what keep water from finding its way in at the edges. These are small items individually, but they're where most siding failures actually start.
Why This Crew Installs Only James Hardie Fiber Cement
We don't install vinyl, LP SmartSide, Cemplank, Allura, primed spruce, or cedar. That's a deliberate standard, not a limitation in what we're capable of installing. James Hardie fiber cement is non-combustible, doesn't rot, and holds up to the moisture cycle that defines this part of Washington far better than wood-based or vinyl alternatives. For a waterfront-adjacent area like Cap Sante, two things matter in particular:
- HZ5 engineered performance: Hardie's HZ product lines are engineered for specific climate zones, and the versions used in this region are built to handle sustained moisture exposure rather than just tolerate it.
- ColorPlus factory finish: a baked-on finish applied under controlled conditions holds color and resists fading and chalking from salt air and UV exposure far longer than paint applied on site after installation.
Hardie also carries a strong transferable warranty, which matters to homeowners who may sell within the product's lifespan. We're not against every alternative product on principle — each has real advantages in the right setting — but for the specific combination of salt exposure, driving rain, and moss pressure that Cap Sante homes deal with, fiber cement installed to spec is what we're willing to put our name on.
Our Process, Start to Finish
Every project follows the same sequence, whether it's a full tear-off or a partial replacement on one exposed elevation.
- Free on-site estimate and inspection, including a look at the wall assembly where accessible
- Written proposal covering scope, materials, and timeline — no surprise change orders for items we could have identified up front
- Scheduling, with material ordered and delivered ahead of the start date
- Tear-off and sheathing inspection, with any hidden damage discussed with you before covering it back up
- Weather barrier, flashing, and Hardie installation to manufacturer spec
- Trim, caulking, and final finish work
- Walkthrough with you to confirm the finished job matches what was scoped
Cost Factors for Cap Sante Siding Replacement
Every home is different, and we don't quote sight-unseen numbers, but the variables that move the price on a project like this are consistent. Understanding them ahead of an estimate makes the conversation more useful.
| Factor | Why It Affects Cost | Cap Sante Consideration |
|---|---|---|
| Extent of hidden sheathing damage | Rot or soft sheathing found at tear-off has to be repaired before new siding goes on | More likely on walls that have had long-term moss or moisture exposure |
| Home height and access | Multi-story or steep-lot homes take longer and need more equipment | Common on elevated and hillside lots near the water |
| Trim and detail complexity | More corners, windows, and transitions mean more flashing and cutting | Applies to homes with varied rooflines or additions over time |
| Siding profile chosen | Lap, shingle, and panel styles differ in material and labor | Personal preference, driven by the home's style |
| Full replacement vs. partial | Whole-house jobs have economies of scale that single-elevation repairs don't | Worth discussing if only one exposed wall is failing |
Why Local Experience in Cap Sante Matters
A siding crew that hasn't worked near the water in Anacortes will treat this like a standard installation, and that's exactly how avoidable problems creep in. Knowing which elevations catch the worst wind-driven rain, how long moss actually takes to re-establish on a shaded wall in this climate, and what Skagit County's permitting and inspection process looks like all come from having done the work here before — not from a manufacturer's install manual alone. That local knowledge shows up in small decisions: where to add extra flashing attention, which gaps need a little more clearance, and which details are worth doing right the first time because a callback on a waterfront-adjacent home means re-exposing work to the same conditions that caused the original problem.
Maintaining Your New Siding After Installation
Fiber cement installed correctly needs far less attention than wood or vinyl in this climate, but a little seasonal upkeep goes a long way toward getting the full service life out of it.
- Rinse salt residue and grime off exterior walls once or twice a year, especially on sides facing prevailing wind and water
- Check caulking at trim, windows, and joints annually and touch up any that's cracked or pulled away
- Keep gutters clear so overflow doesn't run down the siding face
- Trim back landscaping and tree limbs that shade walls and slow drying, since that's what invites moss
- Address any moss growth promptly with a gentle wash rather than letting it establish
- Watch for any soft spots, cracking, or coating changes and call it in early rather than waiting
If your Cap Sante home is showing signs of aging siding, or you're planning ahead rather than waiting for a failure, we're happy to take a look and walk you through what we're seeing. The estimate is free, there's no pressure, and you'll get a straight answer about whether repair or replacement makes sense for your situation.