 Anacortes Siding
 New-Construction Windows Are a Different Job Than Replacement
New-construction windows and replacement windows solve two different problems, and mixing up the install method is one of the most common ways a window ends up leaking. On a new build or an addition, the window still has an open, unfinished rough opening — no siding, no interior trim, nothing hiding the framing. That gives us access to do the job the way manufacturers actually design for: a nailing-fin window integrated directly into the weather-resistive barrier (WRB) and flashing system before any cladding goes on.
That sequencing — sill pan, WRB laps, flashing tape, window, head flashing, then siding — is what determines whether a window stays dry for its whole service life or starts showing water stains inside the wall in year three. On a build in Conway, where the window will spend decades facing wind off the Skagit River delta and Skagit Bay, getting that sequence right the first time matters more than almost anything else in the exterior envelope.
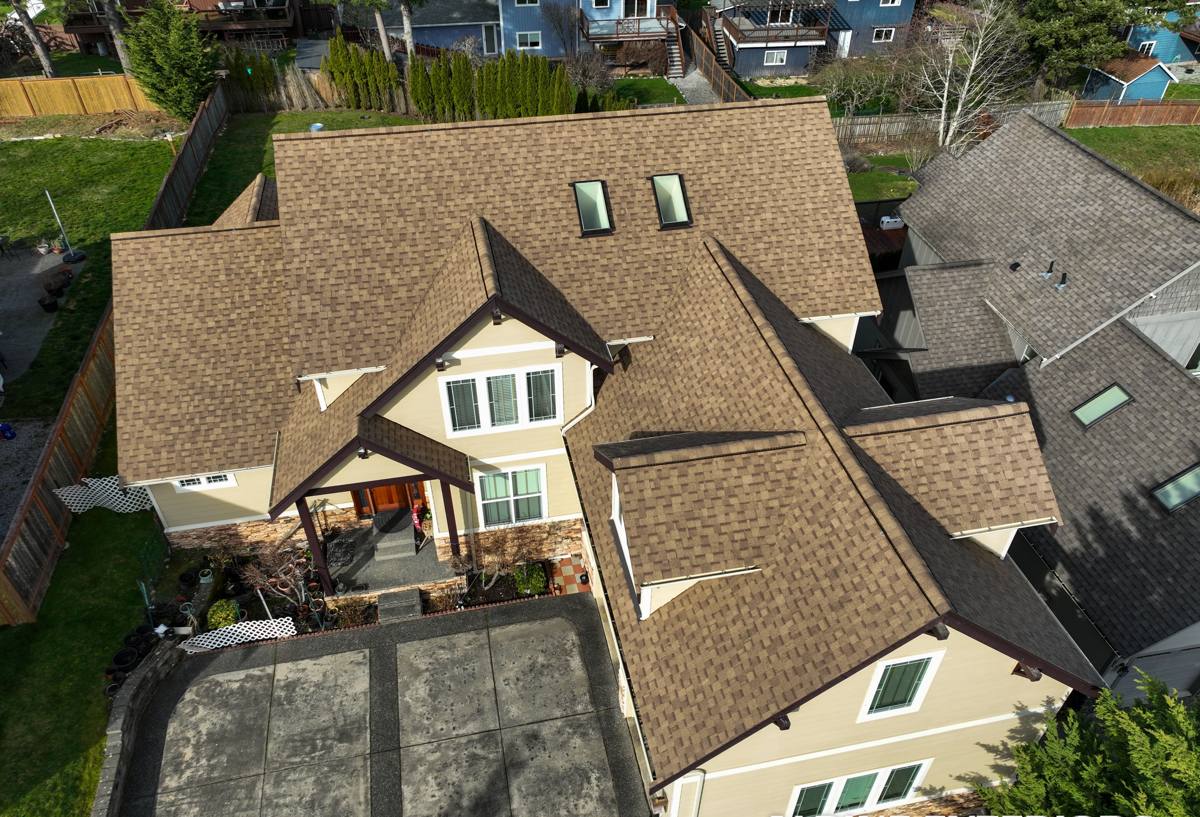
What Conway's Location Does to a New-Construction Window Installation
Conway sits in the low, flat delta country between Anacortes and the I-5 corridor, close enough to Skagit Bay and the surrounding farmland to catch open wind with nothing much to break it up. That exposure shows up in three specific ways when we're planning a window install here.
Wind-Driven Rain
Flat, open terrain means rain doesn't just fall straight down — it gets pushed sideways into wall assemblies during winter storms. A window that would perform fine in a sheltered site can leak here if the flashing laps aren't sequenced correctly, because wind pressure can drive water uphill against gravity-only details.
Salt Air and Corrosion
Proximity to Skagit Bay and Puget Sound means the air carries a fine salt content, especially closer to the water. Over time, ordinary fasteners, hinges, and cheap cladding-clip hardware corrode faster here than they would inland. We treat fastener and hardware selection as a real spec decision on Conway jobs, not an afterthought.
Moss, Standing Damp, and Sill Drainage
Skagit County's long wet season keeps north- and west-facing surfaces damp for months at a stretch, and that's exactly where moss and algae take hold. On a window, that damp buildup collects on sills and sits against drainage paths — if the sill pan isn't pitched to shed water outward, that moisture has nowhere to go but into the framing underneath.
Getting the Rough Opening and Flashing Sequence Right
This is the part of the job nobody sees once the siding goes up, and it's the part that decides whether the window performs for thirty years or five. A correct new-construction install follows a specific order, and skipping steps or doing them out of sequence defeats the whole system even if every individual product used is high quality.
- Rough opening checked against the actual window schedule before any flashing goes on — not assumed from the plans.
- Sloped sill pan flashing installed first, pitched slightly outward so any water that gets past the window sheds away from the framing instead of pooling.
- Weather-resistive barrier integrated in proper shingle-lap order: WRB laps over the head flashing above, and tucks behind the WRB below at the sill, so water always drains down and out, never into a seam.
- Flashing tape rated for the actual exposure and temperature range it will see during install, applied with full contact and no bridging over gaps.
- Window set plumb, level, and square in the opening, fastened per the manufacturer's schedule — not "close enough" and caulked over.
- Sealant used only where it belongs, as a secondary defense — never as a substitute for correct flashing overlap.
Every one of these steps takes minutes. Skipping one doesn't usually cause a problem on day one — it causes one two or three winters later, after wind-driven rain has had enough seasons to find the gap.
Choosing Frame Material and Glass for This Climate
Western Washington's climate zone calls for solid U-factor and condensation resistance regardless of frame material, but the frame itself has real trade-offs worth understanding before you commit to a whole-house order.
| Frame Material | Moisture & Salt-Air Tolerance | Maintenance | Typical Cost Tier |
|---|---|---|---|
| Vinyl | Good — won't corrode or rot, though very dark colors can absorb heat and stress the frame over time | Low | Entry to mid |
| Fiberglass | Excellent — dimensionally stable, handles temperature and moisture swings with minimal expansion/contraction | Low | Mid to upper |
| Wood-Clad | Good on the exterior clad face, but any breach in the cladding exposes wood to the same damp cycle that feeds moss and rot locally | Higher — finish and seal checks matter | Upper |
| Aluminum | Poor without a thermal break — conducts cold and invites condensation in our damp winters | Low | Varies |
For most Conway new builds, we steer homeowners toward vinyl or fiberglass because they hold up against the damp-and-dry cycling this climate puts them through without needing ongoing finish maintenance. Wood-clad is a reasonable choice for homeowners who want that look and are committed to maintaining it, but we're upfront that it's a higher-maintenance product in a wet marine climate — that's a trade-off to go in with eyes open about, not a reason to avoid it outright.
On glass, a low-E coating with argon fill is the practical standard for this region's heating-dominated climate. Beyond that, condensation resistance rating matters as much as the U-factor number — a window that fogs or sweats on the interior in a Skagit County winter is usually a sign the glass package was speced for a milder or drier climate than we actually have here.
Our New-Construction Window Process
Whether we're working directly with a homeowner building on a lot in Conway or as a sub to a general contractor, the process stays the same because the physics doesn't change:
- Plan and schedule review — we go through the window schedule against the framing plans before anything is ordered, catching size or swing mismatches while they're still cheap to fix.
- Rough opening verification — once framing is up, we field-measure actual openings against the ordered sizes rather than trusting the plan set alone.
- Product selection walkthrough — frame material, glass package, and hardware finish decisions made with the climate factors above in mind, not just a catalog page.
- Lead time coordination — factory-order windows can run several weeks out; we build that into the build schedule so the crew isn't standing around waiting or, worse, rushing the install to catch up.
- Installation with documented flashing sequence — sill pan, WRB integration, head flashing, fastening — done in order, every window, every time.
- Walk-through inspection — operation, seal, and flashing lap checked before we sign off and before siding closes it all in.
- Siding coordination — when we're also doing the siding, the window and cladding details are planned together from the start, which removes the handoff gap where a lot of leaks actually originate.
Cost Factors for a Conway New-Construction Window Project
There's no single number that applies to every build, but the factors that move the price are consistent. Use this as a guide when you're budgeting, not a quote.
| Factor | Effect on Cost |
|---|---|
| Frame material (vinyl vs. fiberglass vs. wood-clad) | Fiberglass and wood-clad run higher than vinyl for the same size and configuration |
| Window count and size | Larger openings and specialty shapes (bays, arches) add cost per unit |
| Glass package upgrades | Higher-performance low-E coatings and tempered/laminated glass where code requires it add a modest premium |
| Hardware and finish | Corrosion-resistant hardware, worth the small upcharge this close to salt air |
| Site access and timing | Coordinating install between framing and siding on a tight builder schedule can affect labor efficiency |
| Lead time | Rush or off-catalog sizes typically cost more and take longer to arrive |
Common Mistakes We See on Skagit County New Builds
Most window problems we get called out to fix later trace back to one of a handful of shortcuts:
- Caulk or sealant used to patch a flashing gap instead of correcting the lap order underneath.
- WRB installed with laps running the wrong direction at the sill or head, so water gets funneled behind the barrier instead of over it.
- Standard fasteners used where corrosion-resistant hardware was warranted given the salt-tinged air near the water.
- Rough openings framed slightly out of tolerance, forcing shims and gaps that weaken the seal around the unit.
- Windows installed weeks before siding with no interim weather protection, letting exposed flashing tape degrade in UV and rain before it's ever covered.
Checklist: What to Confirm Before Windows Go In
If you're a homeowner managing your own build, or just want to know what to ask your builder, this is worth walking through before the windows are set:
- Rough openings measured and matched against the approved window schedule, not just the original plan set.
- Sill pan flashing installed and pitched to drain outward, not flat or reverse-sloped.
- WRB in place with correct shingle-lap order at every opening.
- Flashing tape rated for the install season's temperature and moisture conditions.
- Fastener type specified with this climate's salt air and dampness in mind.
- A plan for weather protection if there's a gap between window install and siding closing it in.
- A final walk-through of operation and seals before the opening is covered.
Why a Crew Already Working Conway and Skagit County Matters
New-construction window installation isn't complicated in theory — it's a documented sequence. What separates a clean, dry install from one that leaks in a few winters is whether the crew actually respects that sequence under real job-site pressure: schedule crunches, weather windows, and a general contractor asking to move faster. A crew that already works this area knows what Conway's open exposure and Skagit County's wet season actually do to an envelope over time, because we've gone back and diagnosed the failures that shortcuts cause. That experience shapes which flashing tape we trust in this climate, which hardware we spec near the water, and how hard we push back when a schedule wants to skip a step that will matter in year five.
It also means straightforward coordination with local builders and familiarity with what Skagit County's inspection process expects to see at the rough-in stage, so there are no surprises holding up your framing inspection over a window detail.
If you're building or adding on in the Conway area and want windows installed the way this climate actually requires, we're happy to walk the plans with you and put together a free, no-pressure estimate — just fill out the form below to get started.