 Anacortes Siding
 Building New in Ship Harbor: What the Site Actually Demands
Ship Harbor sits at the water's edge on Fidalgo Island, near the ferry terminal and open to the wind and spray coming off the strait. If you're framing a new home or addition out here, the windows you choose aren't just a design decision — they're the first line of defense against salt-laden air, wind-driven rain, and the long, gray stretch of months that defines a Skagit County winter. A window rated fine for an inland lot a few miles away can still underperform on a shoreline or bluff lot in Ship Harbor, simply because the exposure is different.
New construction gives you one real advantage over a remodel: the chance to get the window opening right the first time, before siding, trim, and interior finishes close everything in. That's worth taking seriously. Correcting a poorly installed window after a house is finished is far more disruptive, and far more expensive, than getting the flashing and fit right during the build.
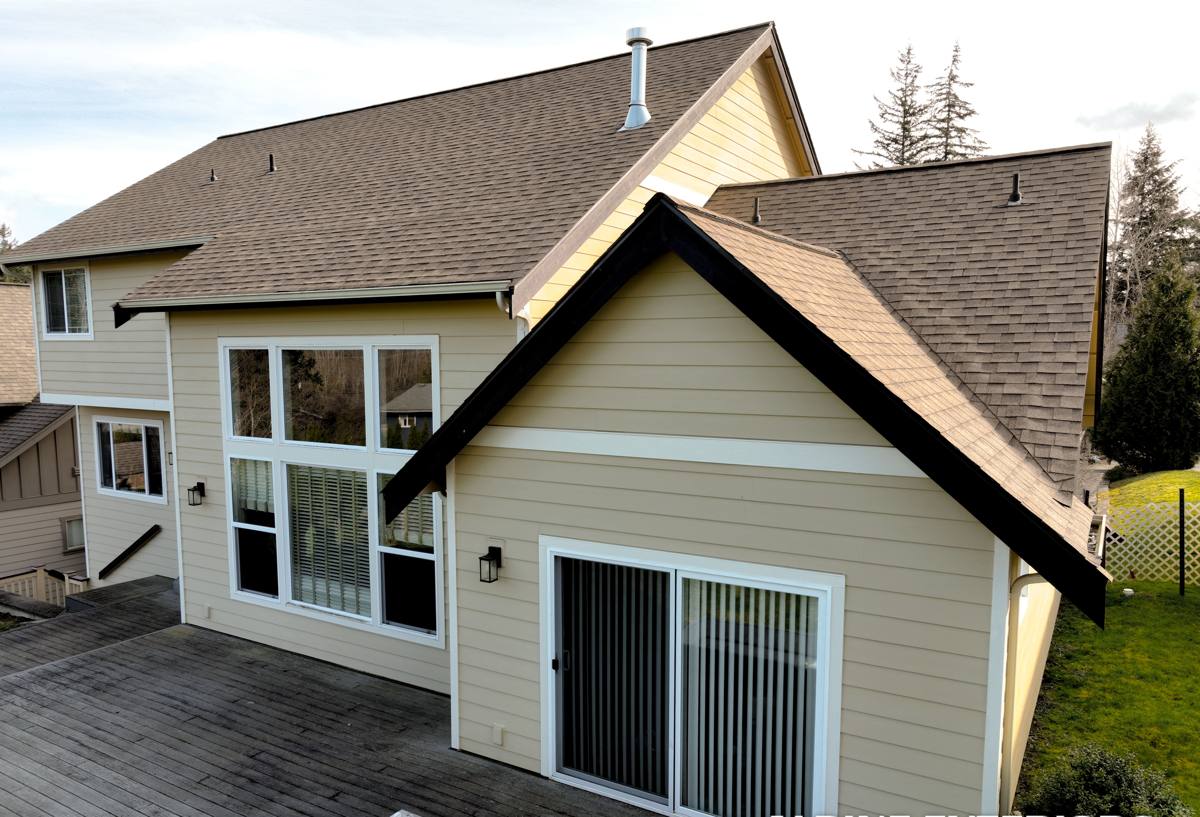
New-Construction Windows vs. Replacement Windows — Why the Distinction Matters
These are two different products installed two different ways, and mixing up the approach is one of the most common sources of leaks in coastal builds. A true new-construction window has a nailing fin around its perimeter that fastens directly to the sheathing, underneath the weather-resistive barrier (WRB) and, eventually, the siding. A replacement or "insert" window is built to fit inside an existing frame with no fin, relying on the old frame to do the structural and weatherproofing work.
On a new build in Ship Harbor, you want a nail-fin unit installed in the correct shingle-style sequence with the WRB, so water is always directed outward and downward, never behind the fin. Using an insert-style window in new framing, or installing a nail-fin unit out of sequence with the house wrap, is a shortcut that tends to show up as staining or rot around the opening within a few winters — exactly the kind of slow, hidden failure that's hard to catch until the damage is already done.
Signs a New-Construction Opening Was Done Right
- Sill pan flashing under the window, sloped slightly outward, before the unit ever goes in
- WRB and flashing tape lapped in true shingle fashion — nothing taped in a way that traps water against the sheathing
- Nailing fin fully fastened per the manufacturer's schedule, not just tacked at the corners
- Head flashing installed last, over the top of the WRB, so it sheds water past the window rather than into it
- Rough opening sized with proper shim space for the unit to sit square and operate smoothly for years, not just on install day
What a Correct New-Construction Install Involves, Step by Step
Good new-construction window work is mostly invisible once the siding goes on — which is exactly why it has to be done right the first time. The sequence matters more than any single product choice:
- Rough openings are checked for square, level, and correct dimension against the window schedule before any unit arrives on site.
- Sill pan flashing is formed and installed at every opening, creating a backstop and a slope that carries any water that gets past the window back outside the wall.
- The WRB is cut and prepped around the opening so it integrates with the flashing rather than fighting it.
- The window is set, shimmed level and plumb, and fastened through the nailing fin per the manufacturer's schedule — this is not optional, and skipping fasteners to save time is one of the most common corners cut on production builds.
- Jamb and head flashing go on in the correct order, lapped so every layer sheds water onto the layer below it.
- Interior and exterior sealant is applied at the specific points the manufacturer calls for — and nowhere else, since sealing the wrong gap can trap moisture instead of keeping it out.
None of this is exotic. It's the standard the window and WRB manufacturers publish for every marine and high-exposure climate zone. The difference between a crew that follows it and one that doesn't rarely shows up on day one — it shows up three or four winters later, in Anacortes' driving rain, as a stain on an interior sill or soft trim nobody wants to find.
Choosing Frame Materials and Glass for a Ship Harbor Exposure
Every frame material handles salt air, moisture cycling, and UV a little differently. For a new build this close to the water, the choice matters more than it would a few miles inland.
| Frame Material | Behavior in Salt Air & Wet Climate | Maintenance | Typical Cost Position |
|---|---|---|---|
| Vinyl | Won't corrode or rust; performs well in coastal air; can expand/contract more with big temperature swings | Low — occasional cleaning | Entry to mid-range |
| Fiberglass | Very stable dimensionally, holds up well to moisture cycling and UV over time | Low | Mid to upper-mid |
| Aluminum-clad wood | Exterior clad face resists weather well; wood interior needs the cladding and seals kept intact | Moderate — watch seals at joints | Upper |
| Bare wood | Most exposed to moisture and salt air without a protective cladding; needs consistent upkeep on this coastline | Highest — regular refinishing | Upper, plus ongoing upkeep cost |
Glass matters as much as frame. A Low-E coated, dual-pane (or triple-pane) unit with an appropriate gas fill helps manage condensation on cold, damp Anacortes mornings and cuts down on heat loss during the winter storm season. On more exposed elevations facing the open water, we'll also talk through wind-load and water-penetration ratings with you — not every window carries the same performance numbers, and a new build is the right time to match the rating to the wall it's going in, not after the fact.
Sequencing With Your Builder: Timing Is Part of the Job
On a new-construction project, windows don't exist in isolation — they have to land at the right point in the framing and dry-in schedule. Set them too early and they're at risk of job-site damage or weather exposure before the WRB is up. Set them too late and you're holding up the siding and interior crews behind you. We coordinate directly with your general contractor or builder on rough opening sizes, delivery timing, and dry-in sequencing so the window install doesn't become the bottleneck on the schedule — or the reason a wall sits open to Anacortes rain longer than it should.
This coordination is also where measurement mistakes get caught before they're expensive. Verifying rough openings against the actual window order, not just the plan set, is a basic step that saves a lot of headaches when a unit shows up and the framing is a half-inch off.
Moss, Algae, and the Long Game on Sills and Trim
Skagit County's moss season isn't just a roof and gutter problem. North-facing and shaded window sills, trim boards, and the top edges of casing on Ship Harbor's damper, tree-covered lots stay wet longer through fall and winter, which is exactly the condition moss and algae need to take hold. On a new build, this is a design consideration as much as an installation one: drip caps and head flashing that actually project past the trim, sills with a real slope to shed water, and trim materials chosen with that moisture exposure in mind all pay off years down the road.
It's also why we're honest about maintenance expectations up front rather than after the fact. A well-installed window in a shaded, damp corner of a Ship Harbor lot will still need occasional cleaning of sills and tracks to keep organic growth from holding moisture against the frame. That's a normal part of owning a home this close to the water — not a sign anything was done wrong.
Our Process for New-Construction Window Projects Here
We work new-construction window installs the same way whether it's a single custom home or a handful of units on a builder's schedule:
- Review the window schedule and rough opening dimensions against actual framing before ordering or scheduling install
- Confirm frame material and glass package fit the specific exposure of that lot — waterfront elevations get more scrutiny than a sheltered, inland-facing wall
- Install sill pan flashing, WRB integration, and shingle-lapped flashing at every opening, not just the ones facing the weather
- Fasten and shim to manufacturer spec so the unit operates correctly and stays weathertight for the long term
- Walk the finished openings with you or your builder before siding closes them in, since that's the last point anything can be corrected without tear-out
We don't cut the flashing sequence short to save an hour on a hot production schedule, and we won't install a window rated for a sheltered inland wall on an exposed waterfront elevation just because it's the cheaper stock item. Those are professional-standard calls, not sales pitches — they're the difference between a window that's still tight in ten years and one that's a warranty call in three.
Why a Crew That Already Works Ship Harbor Matters
A lot of window problems in coastal builds aren't product failures — they're the result of a crew applying a generic, one-size-fits-all install to a site that needed more attention. Working this specific stretch of Fidalgo Island regularly means we already have a feel for which elevations catch the worst of the wind-driven rain, how fast moss establishes on a shaded north wall here versus a drier lot, and where plans drawn for a generic coastal climate sometimes under-spec flashing details for this particular harbor.
That local familiarity doesn't replace following manufacturer instructions and code — it just means fewer surprises, fewer callbacks, and a build that's set up to handle an Anacortes winter from day one rather than needing repairs after its first one.
If you're framing a new home or addition in Ship Harbor and want a straight answer on window selection, flashing details, or how we'd sequence the install with your builder, we're happy to walk the plans with you. Reach out for a free, no-pressure estimate using the form below.