 Anacortes Siding
 Building on the Cap Sante Bluff Changes What "Correct" Window Installation Means
Cap Sante sits up on exposed, elevated ground overlooking the marina, which means homes here take weather differently than a house tucked into a sheltered inland lot elsewhere in Anacortes. Wind off the water drives rain sideways into wall assemblies instead of letting it fall straight down and shed off a roofline. Salt-laden air corrodes unprotected metal faster than it would a few miles inland. And Skagit County's long, wet moss season keeps siding, trim, and window perimeters damp for months at a stretch. None of that is a problem you can fix after the fact with caulk. It has to be built into the window opening from the first day of framing.
New-construction window installation is a different job than swapping out an old window in an existing wall, and on a bluff-exposed lot like Cap Sante, the margin for error is smaller than it is almost anywhere else in the region. This page walks through what the job actually involves, what to look for in materials and workmanship, and why local experience on this specific stretch of coastline matters.
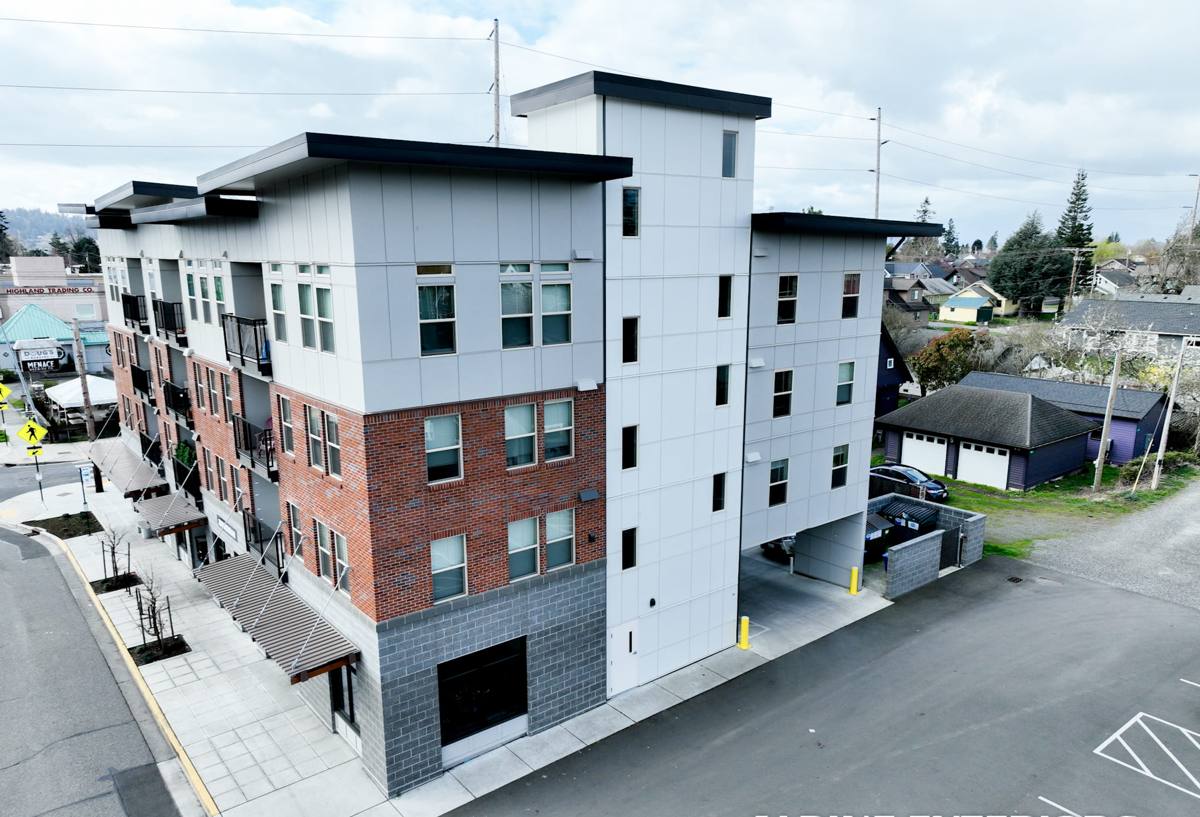
New-Construction vs. Replacement: Why the Distinction Isn't Just Semantics
A new-construction window has a nailing flange (also called a nail fin) around its perimeter that gets fastened directly to the wall sheathing before siding goes on. That flange, combined with the flashing sequence around it, is what actually keeps water out of the wall over the long term — the window unit itself is only part of the water-management system. A replacement or "retrofit" window, by contrast, is built to fit inside an existing frame with no flange, relying on the original opening's flashing (or a new perimeter of sealant and trim) to do that job.
On a new build or an addition in Cap Sante, you have a rare opportunity: the wall is open, the sheathing and weather-resistive barrier (WRB) are exposed, and every layer of the water-management system can be built correctly in sequence, in the right order, with nothing hidden or patched around. Getting this right the first time matters more here than in a sheltered neighborhood, because a bluff-top wall assembly gets tested by wind-driven rain far more often than most.
What Happens If the Flashing Sequence Is Skipped or Rushed
Caulk alone is not a flashing system — it's a backup, and backups fail eventually, especially with UV exposure and thermal movement in a marine climate. When a nailing flange is sealed to the WRB with sealant instead of properly lapped flashing tape or flexible flashing membrane, water that gets behind the siding has nowhere to go but into the sheathing. On an exposed lot, that failure shows up faster — sometimes within a single wet season — as staining, soft trim, or interior moisture at the sill.
What a Correct New-Construction Window Install Actually Involves
There's a specific order of operations that makes a window opening watertight for the life of the house. Skipping steps or doing them out of sequence is the single most common cause of window-related water intrusion we see on framing walk-throughs.
1. Sill Pan First, Always
Before the window ever sits in the opening, the rough sill gets a sloped, back-dammed pan flashing — either a pre-formed pan or one built from flexible flashing membrane — so that any water that does get past the window sheds back outside the wall instead of pooling on the sill framing. This is the step most often shortcut on production builds, and it's the one that causes the most damage when it's missing.
2. Jamb and Head Flashing, Shingle-Lapped
Flashing at the sides and top of the window has to be integrated with the WRB in true shingle fashion — each layer overlapping the one below it — so water draining down the wall face is always directed outward, never trapped behind a layer. The head flashing goes in last and laps over the WRB above it, closing the loop.
3. Backer Rod and Sealant, Not Sealant Alone
Where sealant is used — around the interior and exterior trim reveals — it should sit against a backer rod sized to create the right joint depth, not be smeared into a gap as a filler. A properly sized joint flexes with the building instead of tearing loose, which matters on a windy bluff lot where the structure moves more than in a still, sheltered yard.
4. Insulating the Gap Between Frame and Rough Opening
The gap around the window frame needs a low-expansion foam or backer-rod-and-sealant approach rather than standard high-expansion foam, which can bow window jambs and cause the sash to bind. This step affects how the window operates for years, not just how it looks on install day.
Material and Glass Choices for Salt Air and Driving Rain
Every window material handles a marine climate a little differently. None of them are wrong, but each comes with trade-offs worth understanding before you commit, especially for a home that will spend its life absorbing salt air and wind-driven rain.
| Frame Material | How It Handles This Climate | Maintenance Trade-Off |
|---|---|---|
| Vinyl | Won't corrode or rot; handles moisture well | Dark colors can expand/contract more in temperature swings; hardware quality varies by manufacturer |
| Fiberglass | Very stable dimensionally, resists moisture and salt exposure well | Higher upfront cost than vinyl |
| Wood-clad (aluminum or vinyl exterior) | Cladding protects the wood from weather, but any breach in the cladding exposes wood to rot | Requires more attentive caulk/seal maintenance at joints over time |
| Bare aluminum | Prone to pitting and corrosion in salt air unless marine-grade and well finished | Not our first recommendation for waterfront-exposed elevations |
Hardware finish matters as much as frame material. Look for corrosion-resistant hardware — stainless or coated fasteners and hinges — on any window facing the water or prevailing wind, since standard-grade hardware can start showing surface corrosion within a few seasons in this environment.
On glass, this part of Skagit County doesn't demand the extreme solar-heat-gain control you'd want in a hot climate, but you still want a modern low-E, dual- or triple-pane unit with a U-factor suited to Northwest winters, and condensation-resistant glazing helps on cold, damp mornings when interior humidity is higher than usual — common in newly built homes still drying out.
How Our Process Works on a Cap Sante New-Construction Job
We coordinate directly with the builder or general contractor rather than working in isolation, because window installation timing has to line up with framing inspection, WRB installation, and siding start. Getting that sequence wrong — installing before the WRB is properly lapped, or after siding has already started — is how gaps get papered over instead of solved.
- Review the window schedule and rough opening sizes against the actual units ordered, before they arrive on site
- Confirm WRB and sheathing are installed and inspected before any flashing begins
- Install sill pans, set units, and shingle-lap jamb and head flashing in sequence
- Photograph each opening at the flashing stage, before it's covered by siding, for the record
- Walk the exterior with the builder before siding closes the wall
- Return for interior trim and final air-sealing once the building has dried in
That mid-build photo documentation matters more than it sounds — it's the only way to verify flashing was done correctly once the wall is closed up, and it's something we do as a matter of course, not an upsell.
What New-Construction Windows Typically Cost, and What Drives the Range
Costs vary by unit size, quantity, frame material, and site access, so any number here is a broad range, not a quote. The factors below are what actually move the price on a Cap Sante job.
| Factor | Why It Matters Here |
|---|---|
| Frame material (vinyl vs. fiberglass vs. wood-clad) | Fiberglass and clad wood cost more up front but hold up differently under salt exposure |
| Window count and total opening area | Larger view-oriented openings toward the water cost more per unit and take longer to flash correctly |
| Site access and staging | Bluff-top and waterfront lots sometimes have tighter access for material delivery and staging |
| Timing with other trades | Coordinating install with the builder's schedule avoids delay costs and rework |
| Hardware and glazing upgrades | Corrosion-resistant hardware and upgraded low-E glass add cost but extend service life in this climate |
A Practical Checklist Before Windows Go Into the Wall
Whether you're the homeowner, the builder, or coordinating both, these are the things worth confirming before installation day so nothing gets missed once the wall is closed up.
- Rough openings are squared, plumb, and sized correctly for the ordered units
- WRB is installed and properly lapped before flashing begins
- Sill pan flashing is planned for every opening, not just the ones facing the weather
- Flashing tape or membrane is rated for the temperature range it'll be installed in
- Hardware finish is specified for corrosion resistance, especially on water-facing elevations
- Photo documentation is planned before siding covers the flashing work
- Interior air-sealing and trim are scheduled as a separate step after the building dries in
Why a Crew That Already Works Cap Sante Makes a Real Difference
A crew that's installed windows on other bluff-top and waterfront lots around Anacortes already knows which elevations take the worst of the wind-driven rain, how far salt exposure carries inland from the water, and how long moss season really runs in this part of Skagit County. That's not something you learn from a spec sheet — it's learned by having done the flashing detail on this exact kind of exposure before and having gone back to see how it held up. It also means we're not guessing at scheduling around this region's wet stretches, and we're not learning the hard way what a bluff-top wind gust does to an improperly sealed jamb.
Working with a contractor unfamiliar with this specific exposure isn't necessarily a disaster, but it does mean more risk sits on the homeowner or builder to catch mistakes before the wall closes up. On a house that's going to face decades of salt air and driving rain, that's not the position you want to be in.
Keeping New-Construction Windows Performing Through Moss Season
Even a correctly installed window benefits from a little seasonal attention in this climate. Debris and moss buildup in window wells and along sills traps moisture against the frame and finish. Checking exterior sealant joints once a year, especially after the first full wet season, catches any joint that's started to pull away before it becomes a leak path. None of this is heavy maintenance — it's a walk-around with a hose and a visual check — but skipping it is how small issues on an otherwise well-installed window turn into bigger ones over a few wet seasons.
If you're planning new construction or an addition in Cap Sante and want windows installed the way this climate actually requires, we're happy to walk the plans with you and provide a free, no-pressure estimate — just fill out the form below.