 Anacortes Siding
 Storm Damage Roof Repair Built for Flounder Bay's Waterfront Exposure
Flounder Bay sits right where Skagit County's weather gets personal. Homes here face wind and rain coming straight off the water, salt-laden air that never really stops working on metal and wood, and a wet season that runs long even by Pacific Northwest standards. When a windstorm rips through or a winter system parks itself over Fidalgo Island for a few days, roofs in this part of Anacortes take a harder hit than roofs just a few miles inland. Storm damage roof repair here isn't a generic service we run the same way everywhere — it has to account for the specific way water, wind, and salt attack a roof this close to the bay.
This page covers what storm damage actually looks like on a Flounder Bay roof, what a correct repair involves, and how we approach the job when we're called out after a storm.
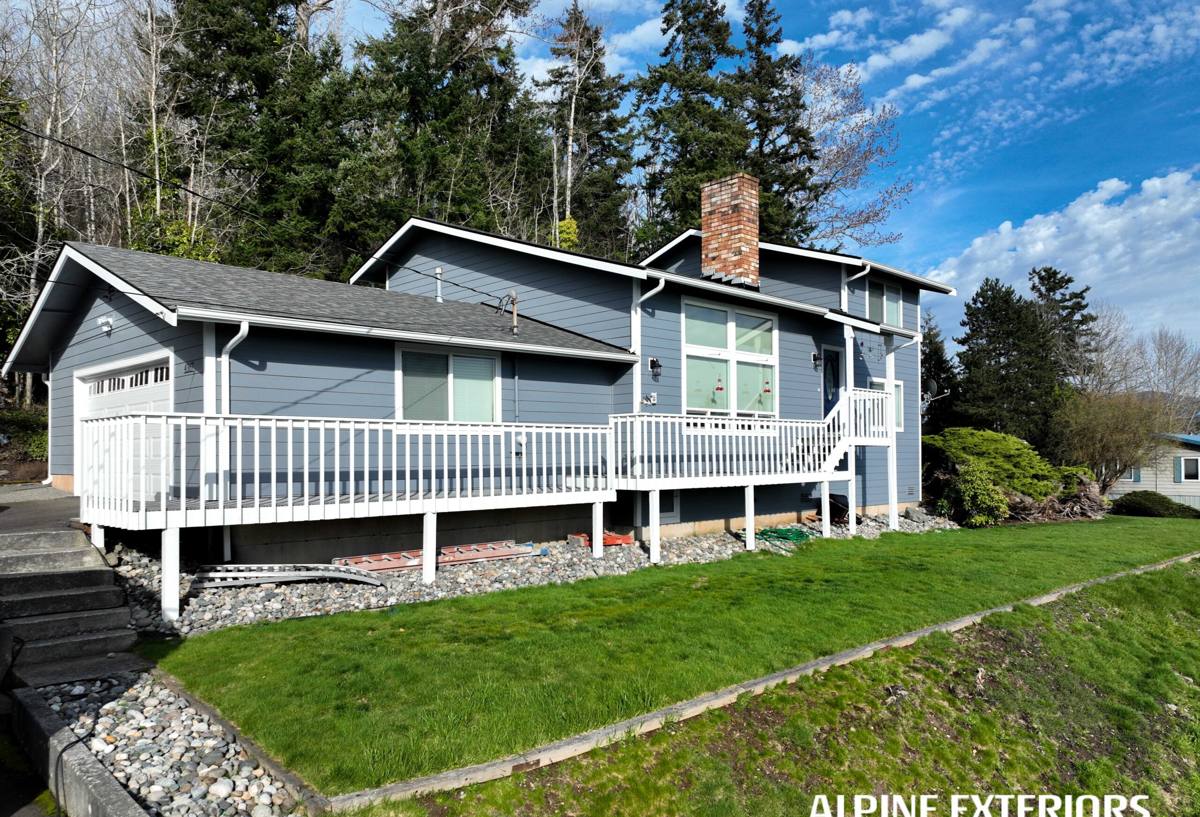
Why Flounder Bay Roofs Take a Different Kind of Beating
Salt Air and Corrosion
Proximity to saltwater accelerates corrosion on anything metal — flashing, fasteners, gutter hardware, vent caps. A fastener or flashing detail that would last decades in a drier, inland part of Skagit County can start showing rust and pitting years sooner near the bay. After a storm, this matters because the damage isn't always the obvious stuff like a torn-off shingle. It's often a flashing seam that was already weakened by years of salt exposure, and the storm just finished the job.
Driving Rain off the Water
Wind-driven rain off the bay doesn't just fall on a roof — it gets pushed sideways and up under laps, ridge caps, and flashing that would keep dry roofs bone-dry in a calmer setting. Roofs here need underlayment, flashing laps, and fastening details that assume water will be forced uphill and sideways at some point, not just straight down.
A Long Moss Season
Anacortes gets enough damp, shaded conditions that moss and algae growth is a near year-round concern on north-facing slopes and anywhere tree cover keeps a roof from drying out between rains. Moss holds moisture against the roofing material, works its way under shingle edges, and can lift tabs enough that a moderate storm finishes what the moss started. A storm-damage inspection on a Flounder Bay home almost always turns up some degree of moss or algae contributing to the failure point, even when the storm gets the blame.
What Counts as Storm Damage (It's Not Always Obvious)
Homeowners often call us expecting to talk about a visibly torn section of roof, and that's certainly part of it. But wind and rain damage a roof in ways that aren't always visible from the ground. Here's what we actually check for on a post-storm inspection:
- Lifted, cracked, or missing shingle tabs, especially on the windward (bay-facing) side of the roof
- Flashing pulled loose or bent around chimneys, skylights, and roof-to-wall transitions
- Torn or punctured underlayment exposed by missing shingles
- Granule loss that leaves asphalt shingles thin and more vulnerable to UV and future wind
- Gutter and downspout damage that lets water dump against the fascia or foundation instead of draining away
- Soft spots or discoloration on interior ceilings, a sign water already made it through
- Debris impact damage from branches or blown material, common on tree-lined lots near the water
- Ridge cap separation, often the first thing to go in sustained wind
Our Storm Damage Repair Process
We keep this process straightforward because homeowners dealing with storm damage don't need extra complexity added on top of an already stressful situation.
1. Inspection and Documentation
We walk the roof (or use a safe vantage point when conditions don't allow it) and document every point of damage with photos, not just the obvious ones. This documentation matters if you're filing an insurance claim.
2. Temporary Protection First
If there's active water intrusion or an exposed area, we prioritize getting a tarp or temporary seal in place before anything else. A few hours of exposure during a follow-up storm can turn a repair into a much bigger job.
3. Honest Assessment: Repair or Replace
We tell you plainly whether the damage is isolated enough to repair or whether the roof's overall condition means a repair would just be a short-term patch on an aging system. We'll walk through that reasoning with you rather than just handing you a number.
4. The Repair Itself
Depending on what's damaged, this might mean replacing a section of shingles and underlayment, re-securing or replacing flashing, resetting ridge caps, or addressing gutter and drainage issues that are contributing to the problem. We match materials as closely as possible and pay particular attention to flashing and fastener choices given the salt air.
5. Follow-Up Check
After a repair, especially one done in less-than-ideal weather, we recommend a follow-up look once conditions have settled to make sure everything is sealing and draining the way it should.
Repair vs. Replace: How We Help You Decide
Not every storm-damaged roof needs full replacement, and not every roof that "just needs a patch" is actually a good candidate for one. Here's the general framework we use:
| Factor | Leans Toward Repair | Leans Toward Replacement |
|---|---|---|
| Roof age | Under 12-15 years, otherwise sound | Nearing or past expected lifespan |
| Extent of damage | Isolated to one section or slope | Spread across multiple areas |
| Underlying condition | Decking and underlayment intact | Signs of prior water damage or rot |
| Moss/algae history | Minimal, well-maintained roof | Heavy moss growth undermining shingles broadly |
| Material availability | Matching shingles still available | Discontinued product, poor color/style match |
| Insurance scope | Adjuster approves targeted repair | Adjuster or inspection supports full replacement |
We'd rather lose a bigger job than talk a homeowner into a full replacement they don't need — or, just as important, sell a patch job on a roof that's genuinely at the end of its service life near saltwater conditions.
Materials That Hold Up Near the Bay
Given the salt exposure and wind-driven rain around Flounder Bay, the small material choices matter more here than they would further inland.
- Fasteners: We favor corrosion-resistant fastener options over standard-grade hardware, since ordinary fasteners can start showing rust streaks and weakening well ahead of schedule this close to the water.
- Flashing: Properly lapped and sealed flashing at every penetration and transition point is non-negotiable — this is usually where wind-driven rain finds its way in first.
- Underlayment: A quality synthetic or self-adhered underlayment in vulnerable areas (eaves, valleys) gives an extra layer of protection when wind pushes water where it normally wouldn't go.
- Ventilation: Good attic ventilation reduces the moisture buildup that feeds moss and speeds up material breakdown from underneath.
Insurance and Documentation
Storm damage claims move faster and get resolved more fairly when the documentation is thorough from the start. We photograph the damage before any repair work begins, note the likely cause (wind, impact, prolonged moisture), and can provide a written scope of work that adjusters can reference. We're not a public adjuster and won't promise a claim outcome, but we've been through this process enough times with Skagit County homeowners to know what documentation actually helps and what gets overlooked.
Why Local Experience in Flounder Bay Specifically Matters
A crew that mostly works drier, inland roofs can still do competent general roofing work, but they may not think to double-check flashing corrosion, upgrade fastener grade, or flag moss damage that's been quietly compromising a roof for a couple of seasons. Working regularly in and around Flounder Bay and the rest of Anacortes means we already know which details tend to fail first in this specific environment, and we build the repair around that — not around a one-size-fits-all approach that ignores what saltwater exposure actually does to a roof over time.
Cost Factors to Expect
Every storm damage job is different, so we won't quote a number without seeing the roof, but these are the main factors that drive cost up or down:
| Factor | Effect on Cost |
|---|---|
| Size of the damaged area | Larger areas mean more material and labor |
| Roof pitch and access | Steep or hard-to-access roofs take longer to work safely |
| Flashing vs. shingle-only damage | Flashing repair adds detail work and often custom fabrication |
| Decking condition underneath | Rotted or water-damaged decking adds replacement cost |
| Material matching | Older or discontinued shingle lines can be harder to match |
| Urgency | Emergency tarping and expedited scheduling can add cost |
Reducing the Odds of Repeat Storm Damage
A few habits go a long way toward keeping a Flounder Bay roof storm-ready year to year:
- Have gutters cleared before the fall storm season so water isn't backing up under the roof edge
- Address moss growth early rather than letting it build up over multiple wet seasons
- Trim back tree limbs that overhang the roof, especially anything that could break off in high wind
- Get flashing and fastener condition checked every few years given the accelerated corrosion near the water
- Don't ignore small leaks — a minor drip after a storm is often the first sign of a flashing or underlayment issue that will get worse in the next one
If a recent storm has left your Flounder Bay home with roof damage, or you just want a professional set of eyes on a roof before the next system rolls in off the water, we're happy to take a look. Fill out the form below for a free, no-pressure estimate.