 Anacortes Siding
 Siding Installation Built for Mount Vernon's Climate
Mount Vernon sits in the Skagit Valley lowlands, close enough to Puget Sound and the Salish Sea that homes here deal with a steady mix of marine humidity, wind-driven rain, and a moss season that can stretch for months. That combination is harder on exterior siding than most homeowners realize. Siding that looks fine in a dry climate can fail early here if it isn't rated for constant moisture exposure, and siding that's installed even slightly wrong — a missing flashing detail, a caulked butt joint, a fastener driven too tight — tends to show the damage faster in Skagit County than it would somewhere drier.
This page focuses specifically on what siding installation should look like for a home in the Mount Vernon area: what the climate actually does to exterior materials over time, what a correct installation involves, how our process works, and why it matters to hire a crew that already understands this region rather than one working from a generic playbook.
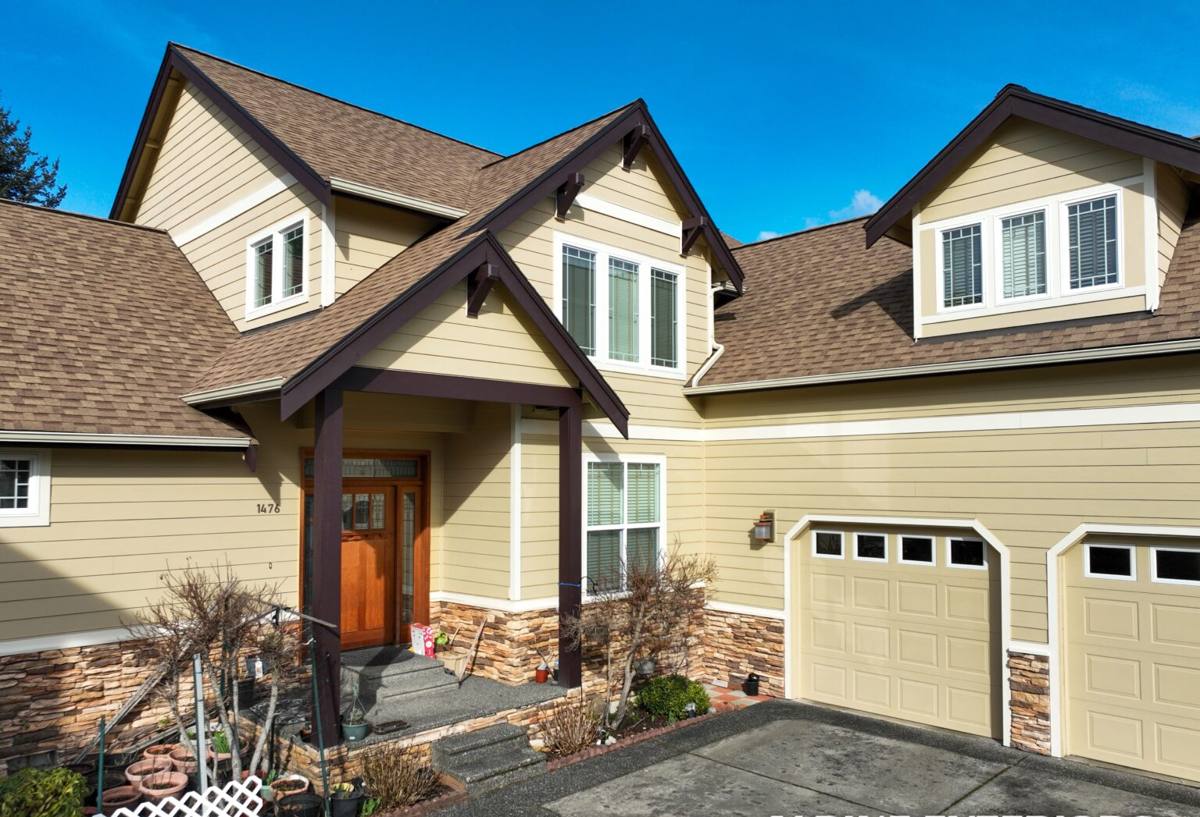
What Salt Air, Rain, and Moss Do to Siding Over Time
Moisture Cycling
Western Washington's wet-dry cycling — weeks of steady rain followed by short dry spells — causes siding materials to repeatedly absorb and release moisture. Materials that aren't dimensionally stable under that cycling can swell, crack, or delaminate at the seams over years. This is a slow process, which is exactly why it's easy to underestimate until a homeowner is looking at soft spots or peeling paint a decade in.
Salt Air Exposure
Proximity to saltwater means airborne salt is a real factor for exterior materials in this part of Skagit County, even a few miles inland. Salt air accelerates corrosion on unprotected metal fasteners and trim, and it can degrade certain paint and coating systems faster than in drier, inland climates. Siding and fastening hardware that isn't specified for coastal-adjacent exposure will typically show wear sooner here.
Long Moss and Algae Season
Shaded, north-facing, and tree-adjacent walls in this region hold moisture long enough for moss and algae to take hold, sometimes for most of the year. Beyond the cosmetic issue, sustained moss growth keeps a wall surface damp longer than it would otherwise be, which shortens the useful life of moisture-sensitive materials and finishes underneath it.
Wind-Driven Rain
Storms moving through the valley don't just drop rain straight down — wind pushes it sideways into wall assemblies, which is why lap overlaps, flashing details, and the weather-resistive barrier behind the siding matter as much as the siding material itself. A beautiful siding job with a poorly detailed water management system behind it will still leak.
Why We Install Only James Hardie Fiber Cement
We standardized on James Hardie fiber cement siding and don't install vinyl, LP SmartSide, Cemplank, Allura, primed spruce, or cedar. That's not a marketing position — it's a decision based on what holds up best under exactly the conditions described above.
Fiber cement is non-combustible and dimensionally stable, meaning it doesn't expand and contract with moisture the way wood-based and some engineered wood products can. James Hardie's HZ5 formulation is engineered specifically for wetter, moderate-temperature climates like the Pacific Northwest, which is the climate zone Mount Vernon and the broader Skagit County area fall into. The factory-applied ColorPlus finish is baked on under controlled conditions rather than field-applied, which gives it more consistent adhesion and weather resistance than a coating applied on site, and it comes with a strong transferable warranty when the installation is done to Hardie's specifications.
We're not going to tell you other materials are junk — vinyl, wood, and engineered wood siding all have legitimate uses and can perform reasonably well when properly maintained. But for the maintenance burden, moisture behavior, and long-term appearance we want to stand behind on a Skagit County home, fiber cement is what we're willing to install and warranty.
What a Correct Siding Installation Actually Involves
The siding panel itself is only part of the system. A correct installation in this climate depends on everything behind and around it being done right. Here's what we treat as non-negotiable on every job:
- Weather-resistive barrier: A continuous, properly lapped house wrap or building paper behind the siding, with no gaps at seams or penetrations.
- Flashing at every penetration: Windows, doors, vents, and any wall penetration get proper flashing so water is directed out and down, never trapped behind the siding.
- Correct clearances: Siding held to Hardie's minimum clearance from roof lines, decks, and grade so water doesn't wick up into the bottom edge of the panels.
- Proper fastening: Fasteners driven flush, not overdriven, at the spacing and location Hardie specifies — overdriven nails crack the board's fiber cement edge and create a weak point.
- Correct joint treatment: Butt joints and seams handled per Hardie's published details, not just caulked over, since caulk alone isn't a long-term water management strategy.
- Painted or primed cut edges: Any field-cut edge sealed so raw fiber cement isn't left exposed to moisture.
Skip any one of these and the siding can still look fine for a year or two — the problems this climate causes tend to show up slowly, behind the wall, before they're visible on the surface.
Common Installation Mistakes We See on Homes We're Asked to Re-Side
| Mistake | What It Causes Over Time |
|---|---|
| House wrap gaps or reverse lapping | Water tracks behind the barrier instead of out, leading to sheathing rot |
| Caulk used instead of proper flashing | Caulk fails years before the siding does, then leaks go unnoticed |
| Siding installed too close to grade or a deck | Constant wicking moisture at the bottom courses, early rot and paint failure |
| Overdriven or underdriven fasteners | Cracked board edges or siding that can work loose in wind |
| Mismatched trim and siding materials at transitions | Different expansion rates open gaps that let water in |
Our Installation Process, Step by Step
- Assessment and measurement: We inspect the existing wall assembly, note problem areas (moss-prone walls, low-clearance zones, existing moisture damage), and take precise measurements for material ordering.
- Sheathing and barrier check: If sheathing is compromised or the existing weather barrier isn't salvageable, we address that before any new siding goes up — new siding over a bad substrate just hides the problem.
- Weather barrier and flashing installation: House wrap and flashing go in first, properly lapped and sealed at every penetration.
- Siding installation: James Hardie panels or lap siding installed to manufacturer spec — correct fastener type, spacing, and clearance at every course.
- Trim and joint detailing: Corner boards, trim, and joint treatments installed to shed water rather than trap it.
- Final inspection and walk-through: We walk the finished job with the homeowner, checking clearances, fastening, and finish quality before calling it done.
Signs a Mount Vernon Home May Need New Siding
- Persistent moss or algae staining that returns quickly after cleaning
- Paint that's peeling, bubbling, or chalking faster than expected
- Soft or spongy spots when you press on the siding, especially near the bottom courses
- Visible warping, cupping, or gaps opening at seams
- Rising heating bills that suggest the wall assembly isn't performing the way it should
- Siding that's simply reaching or past the end of its expected service life for its material type
What Affects the Cost of a Siding Installation
Every home is different, so we won't put a number on a page — the honest range depends on the factors below and is best confirmed with an on-site estimate. What we can do is explain what actually moves the price:
| Factor | Why It Matters |
|---|---|
| Home size and wall complexity | More corners, dormers, and transitions mean more cutting, flashing, and labor time |
| Condition of existing sheathing | Rot or moisture damage found during tear-off adds repair scope before new siding can go on |
| Siding profile chosen | Lap siding, panel siding, and shingle-style Hardie products differ in material and install time |
| Trim and accent work | Custom trim details, board-and-batten accents, or color changes between elevations add scope |
| Access and site conditions | Tight lots, multi-story walls, and landscaping obstacles affect staging and labor time |
Why Hiring a Crew That Already Works Mount Vernon Matters
Siding installation isn't just a product choice — it's a set of judgment calls made on site, in real weather, on a real wall. A crew that regularly works Mount Vernon and the surrounding Skagit County area has already seen how local moisture, wind exposure, and moss patterns play out on homes similar to yours, and that shows up in the details: where extra flashing attention gets paid, which walls need closer clearance checks, how joints get handled going into a wet fall.
It also matters for scheduling and sequencing. Skagit County's weather windows for exterior work aren't identical to Seattle's or the drier parts of the state, and a crew based in the region plans around that rather than fighting it. Local experience isn't a substitute for correct installation practices — but paired with them, it's the difference between a job that's technically done to spec and one that's actually built for how this area's weather behaves year after year.
If you're weighing a siding replacement or new installation for a Mount Vernon home, we're happy to take a look and give you a straightforward, no-pressure estimate — just fill out the form below.